Matchbook Journal for StudioLight - using two dies, four stencils, and showing how to bind three different ways.
Hi gang! I did another video, this time showing how I made a little Matchbook journal. I used just two dies (one cut out of fun foam to use as a stamp) and four stencils. Plus sprays and acrylic paint.
This was really easy to make - the dies and stencils are from the Just Lou 'Explorer' collection by Lou Withers for StudioLight, and the actual making of the journal took just minutes! (And a little longer for decorating pages etc).
Here's my youtube video showing how I put it all together, plus a choice of three different styles of binding, all variations on a pamphlet binding. Very quick, very easy, even for a total beginner.
First, I cut the journal shape, then folded over the top section to form the matchbook closure. If you don't have a die, cut a piece of card the length of the journal folded in half plus an extra quarter of the length (at least 4 inches) for the fold-over top.
Page views
The journal closed - the front...
...and the back...
Great fun - and of course the stitching will work with any style of journal or book. I do hope you'll give it a try!
If you'd like to see how I decorated the pages, you may wish to look at my video:
You can see the actual blog post (with closeup pix) here.
Enjoy!
This was really easy to make - the dies and stencils are from the Just Lou 'Explorer' collection by Lou Withers for StudioLight, and the actual making of the journal took just minutes! (And a little longer for decorating pages etc).
Here's my youtube video showing how I put it all together, plus a choice of three different styles of binding, all variations on a pamphlet binding. Very quick, very easy, even for a total beginner.
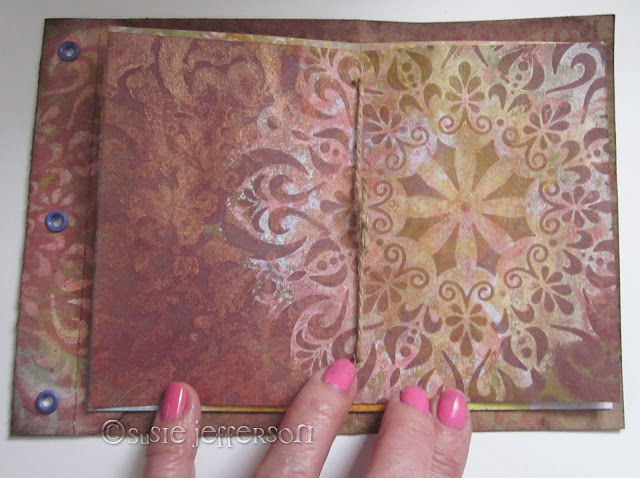
First, I cut the journal shape, then folded over the top section to form the matchbook closure. If you don't have a die, cut a piece of card the length of the journal folded in half plus an extra quarter of the length (at least 4 inches) for the fold-over top.
 |
| You can see the section on the left is folded over to form the matchbook fastening |
The journal closed - the front...
...and the back...
Great fun - and of course the stitching will work with any style of journal or book. I do hope you'll give it a try!
If you'd like to see how I decorated the pages, you may wish to look at my video:
You can see the actual blog post (with closeup pix) here.
Enjoy!


Comments
Post a Comment
Thank you so much for leaving a comment!